Lesson 2
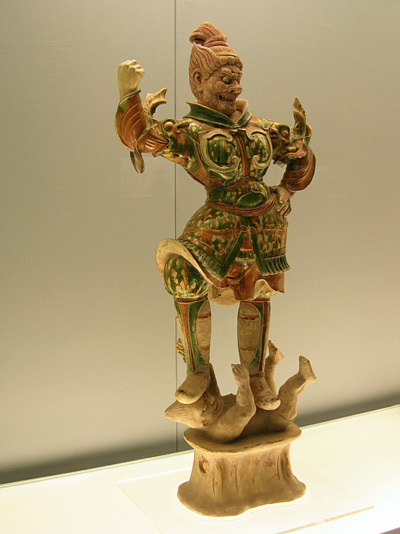
All photographs copyright Chuck Simon ©2008
| Part 1 Lesson 2 |
|
All photographs copyright Chuck Simon ©2008 |
|
|---|---|
The digital camera seldom makes white balance errors but it is possible. Good to know that Photoshop Elements can come to the rescue.
The original on the left, I felt was a little to orange.
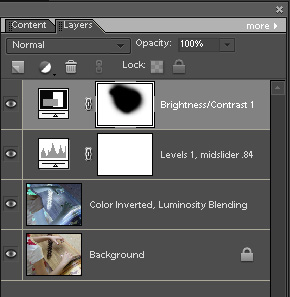
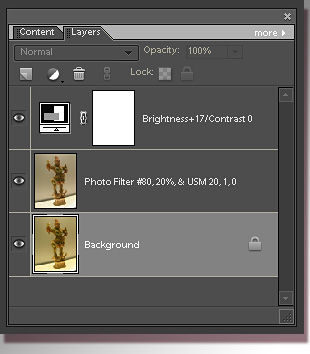
I applied a “cooling” filter to better represent the actual appearance. Layers shown below.
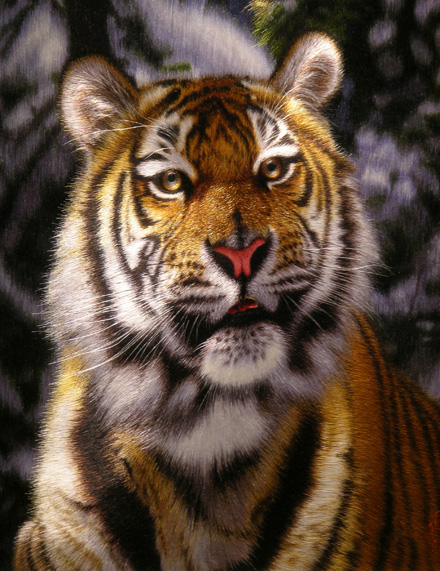
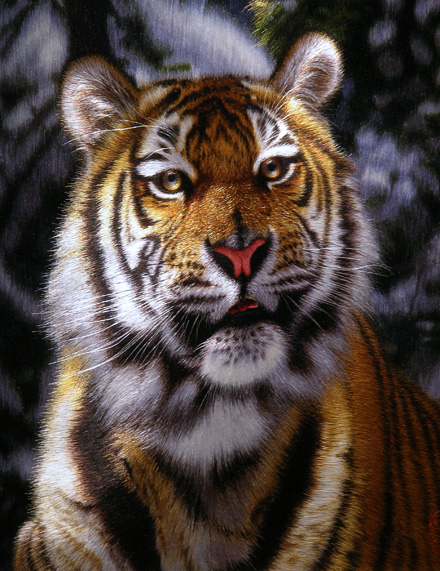
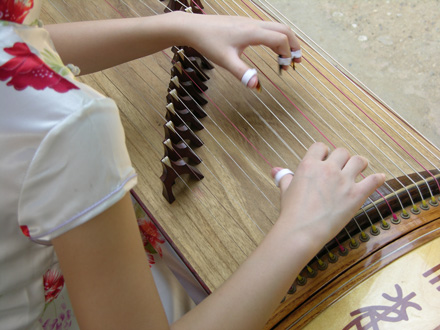
The difference might not be apparent as the original I found to be slightly on the warm side. This rendered the white as somewhat off white. The image on the right also has the blue cooling filter, #80 at about 14% density. If you are wondering — no this is not a real tiger, it is not a painting. It is a silk embroidery.
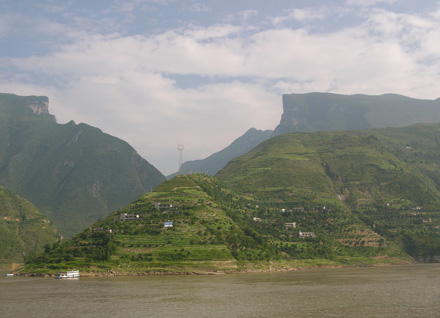
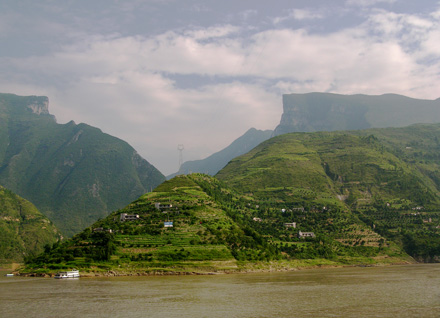
The original above somewhat lost in the "haze" and bright sky.
Much improved in my eyes.
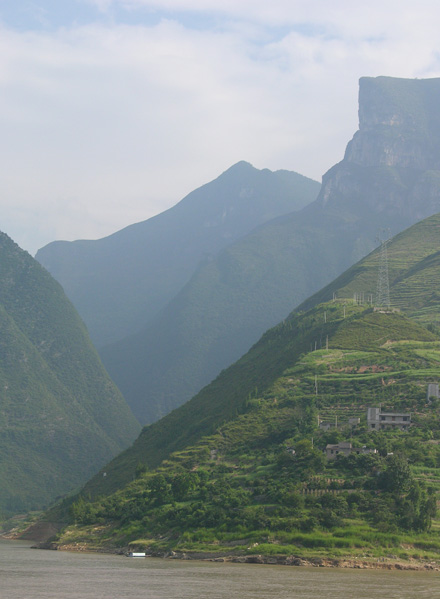
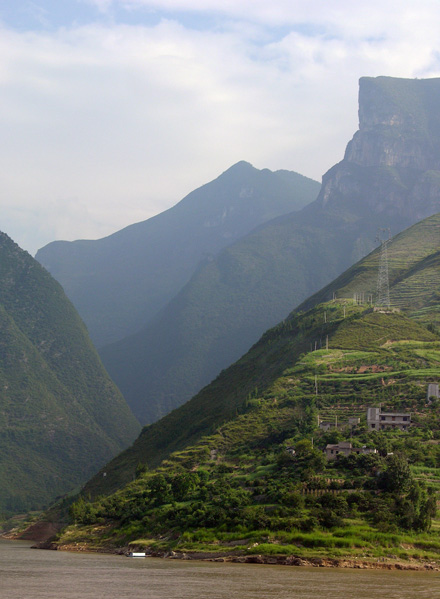
The correction applied on the right is a combination of Color Curves and an Adjustment Layer for Brightness/Contrast which darken the overall image. The highlights on the lower foothills are the result of Masking to reveal the original lighting in that area.