
Lesson Five
All photos copyright by Chuck Simon, 2005
Textures
 |
 |
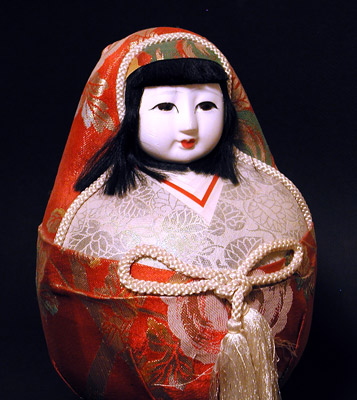
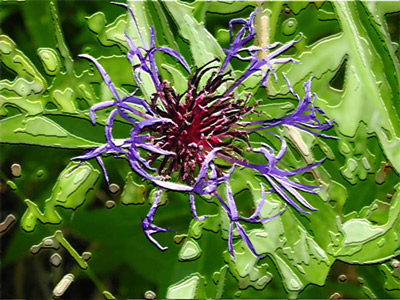
The Original |
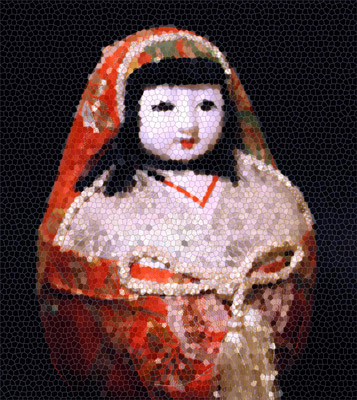
Stained Glass Filter |
|
This was created as instructed and then on a duplicate layer, the blending mode set to Color Burn. This darkened the area under the blossoms so the Opacity was set to 60%. |
My wife thought that it looked similar to the brocade used in Japanese kimono. |
|
Working with the Texturizer
 |
 |
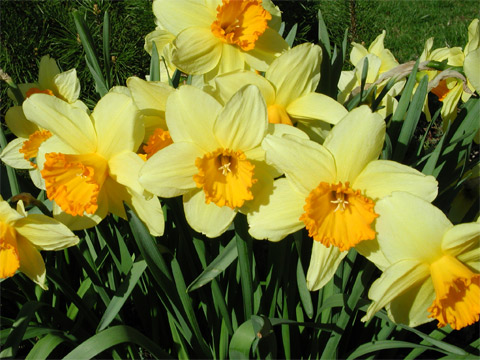
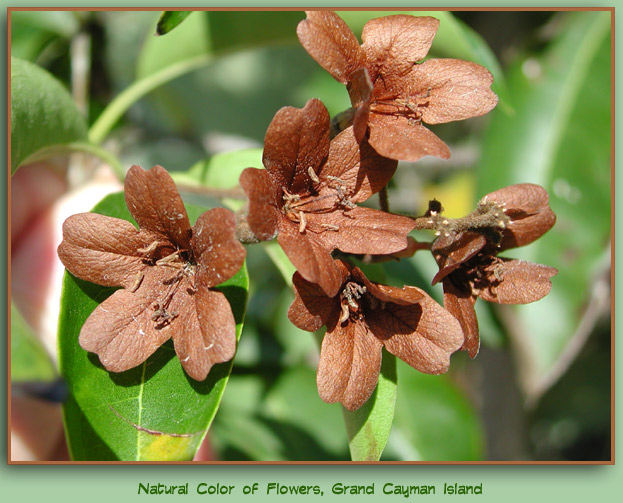
Original image used to apply itself as a texture |
Applied self-image texture |
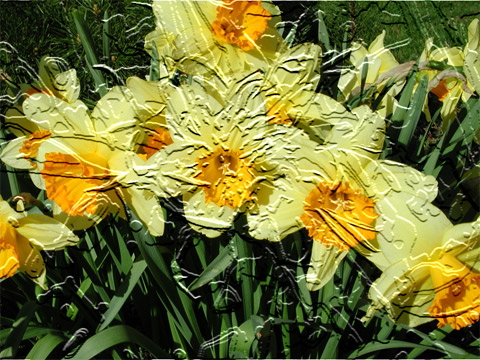
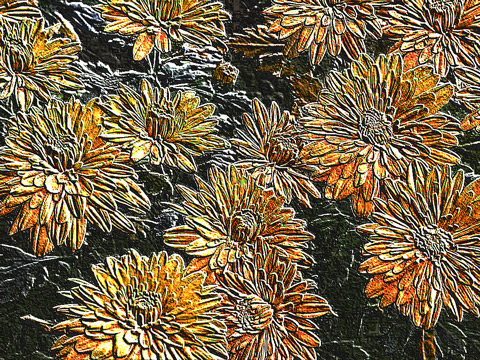
Then I got carried away. Applied the same texture to a different photograph of flowers.
 |
 |
Original image used to apply itself as a texture |
Applied self-image texture & Filter Artistic Fresco applied |
Distort Liquify
|
|
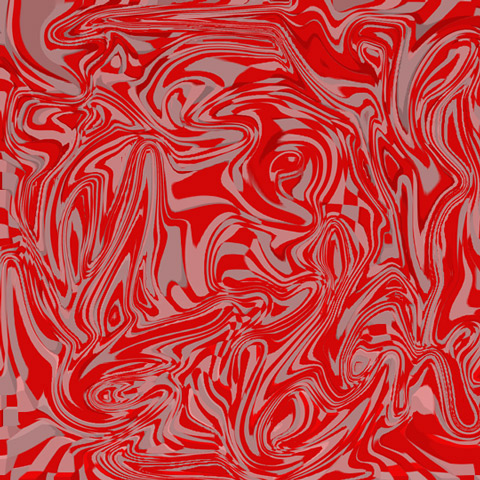
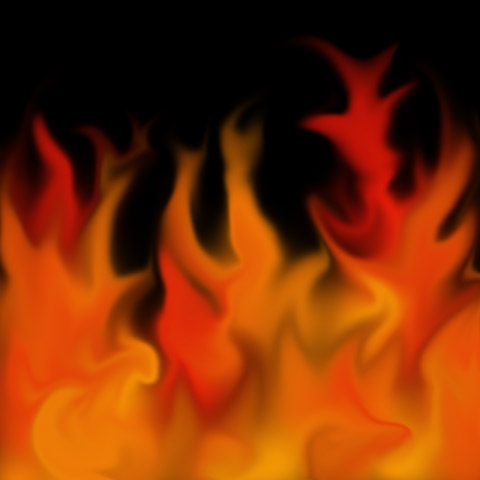
More Liquify
|
These were fun. Also, I got to use my tablet and pen and find out what it will do. For work like this, the pen is much easier than the mouse. I like it. |
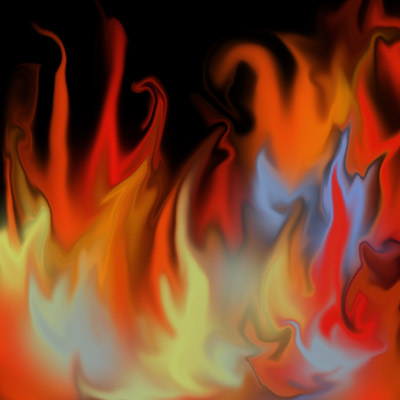
Playing around, added some other colors trying to get the “blue flame” but it didn’t work well. With this one, I applied the color to a transparent layer so I could try different color backgrounds. Black remained the best color. | |
|
|
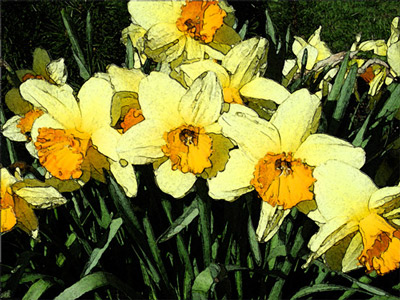
The Final Pizzazz Image
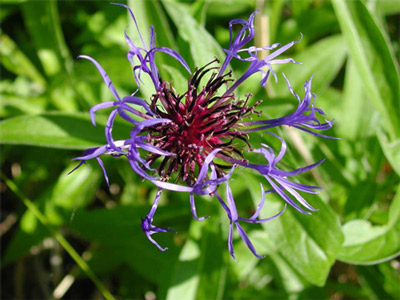
First a look at the original image that I used for this final project.
This I really like!
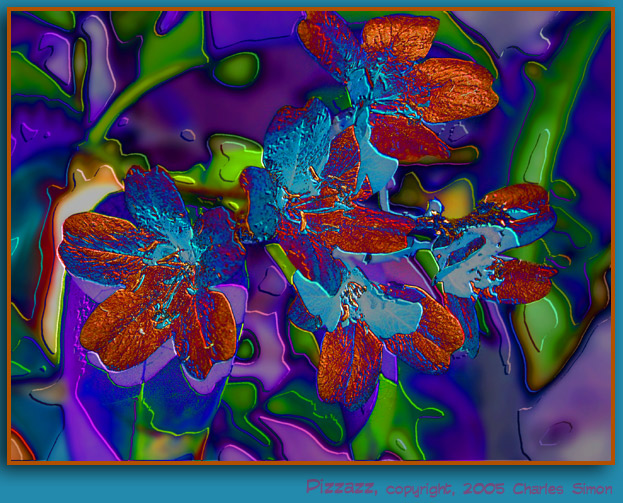
There was a lot of experimenting going on here. First I selected out the flowers and applied a Gaussian blur of 7 pixels to the folage in the background. Applied it again for good measure.
Brought back the selection of the flowers, copy/paste into another layer and applied the Filter, Artistic, Fresco; setting 2 and 81. Changed the Blending Mode to Luminosity set Opacity at 40%.
Flatten layers. Duplicated the image. Applied Filter, Stylize, Emboss at Height 8, Amount 80%. Selected All and copy/paste on to the first image. Set the Blending Mode to Difference, Opacity to about 90%.
Adjusted levels to brighten and boosted Saturation to 50.
I am totalled amazed at the colors that developed out of all this. The colors came about by the Blending Mode to Difference step. Going on to ...More Pizzazz.
