| Part Two Lesson Two |  |
All photos copyright by Chuck Simon, 2006 | |
Posters — Posterization, Textures and Text
|
|
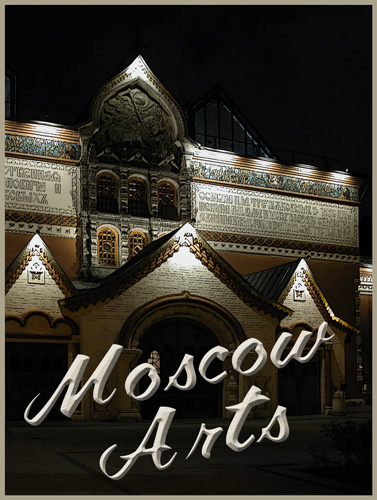
The original of that to the right. A building that I will assume to be part of the concert hall where we had just attended a concert. |
First: Posterization with settings of 2, 2, 5. Opacity reduced to 80 percent. |

Posterize, Poster Edge, Backscreening and Text...
|
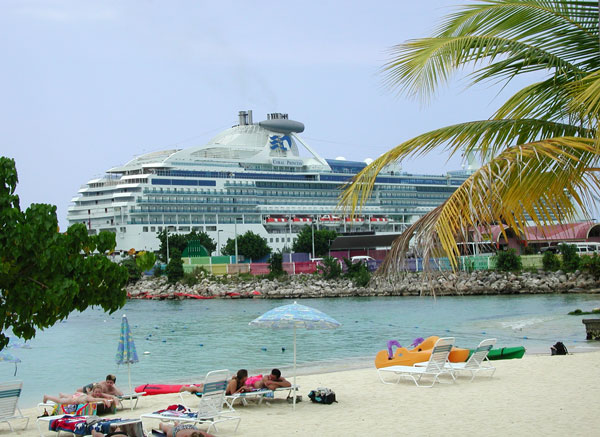
The original of the image below. |
|
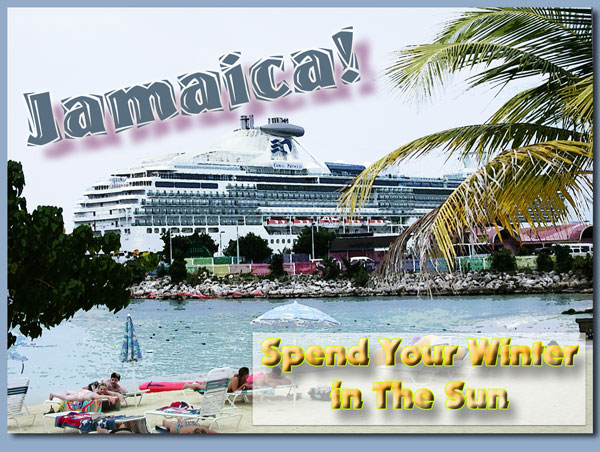
A large amount of editing took place to produce this image. First it was converted to black and white. This at the recommendation of the Posterize filter. In that process I added more Red, twice. Then with Adjustments, Photo Filters, I added 40% Blue. What I was trying to do was increase the intensity of the sky. Then it was Posterize with it set to 4 Levels. This was followed by Poster Edges: settings 2, 1, 1 and Dry Brush settings: 1, 10, 2. The remainder was adding of the text and styles to the text. Oh, the beach area in the posterize layer has been erased to reveal the original photo. |
The Cookie Cutter Tool
Crop Shape with Stroked Edge
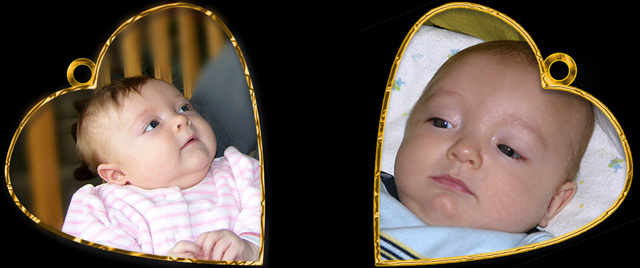
Our newest grand-children. I didn't plan ahead for this one. Finishing one completely before starting on the second left me with trying to duplicate the shape of the hearts, the stroking and size. That falls in the category called "lessons learned".
Feathered Cutter Cutter Crop

There are a number of things going on here. The feathered crop was so-so. Since I did it in a layer over the background, I brought the background layer back into the picture with a less than 50% opacity. I also selected a circle within the crop and Spherized it. With the edge of the sphere getting a little lost, I applied a narrow stroke to the outside. Oh by the way, the “background” is made by duplicating the original background photo into a second layer and then flipping it horizontally and slightly offsetting — blending changes made to fit the scene and then flattened.
Photoshop Elements 5.0 Homepage
