Correcting Problems with Old Photographs
Workover of a Textured Hand Colored Photo
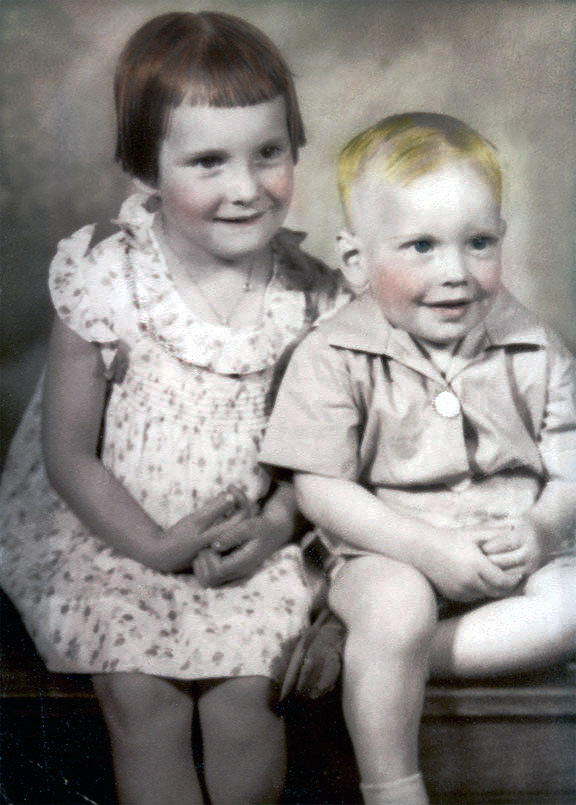
This is more difficult than it would first appears. Not really satisfied with the color of the boy's hair but a lot of different colors tried.
Scans of Prints on Matte Paper
More on Textured Photographs, Merging Two Scans
|
|
|
Normal Scan |
Merging a Reversed Scan with Original |
After Further Restoration |
|
|
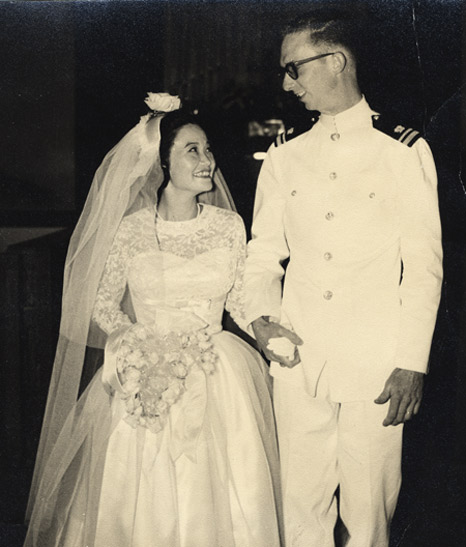
Original |
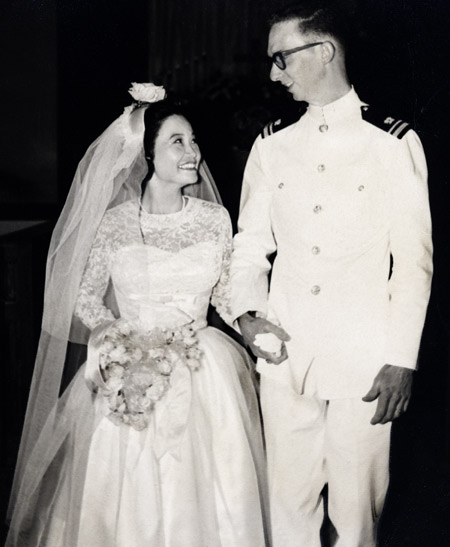
After |
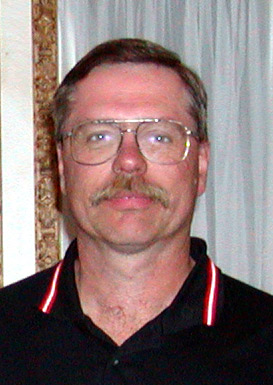
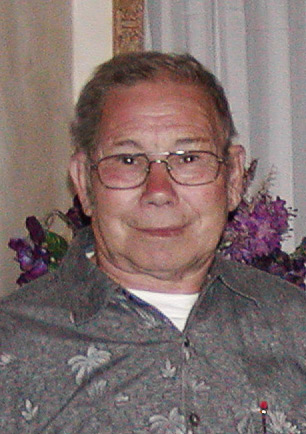
Please no comments about the glasses!
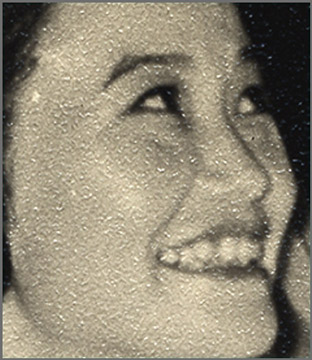
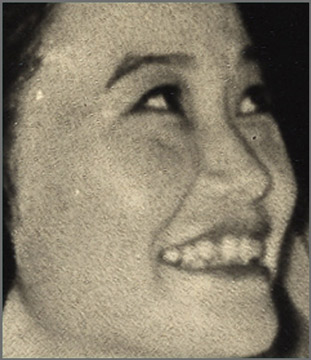
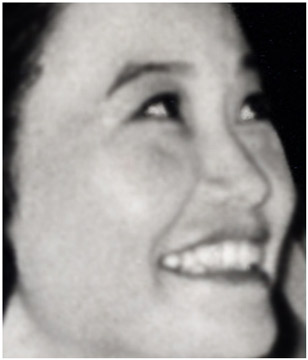
Removing Glare and Coloring Gray Hair
|
|
No More Glare |
No More Gray |
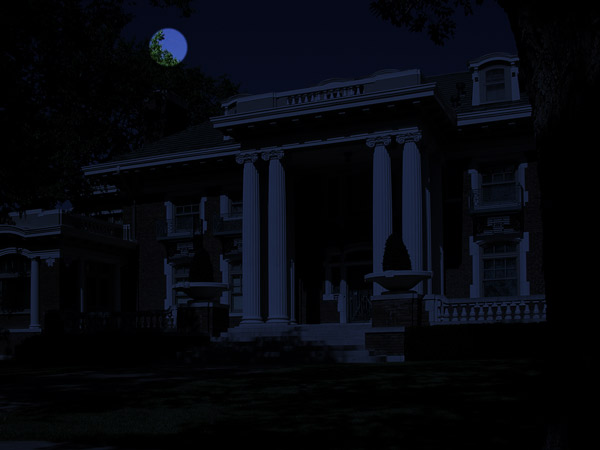
Moonlight in the Day Time
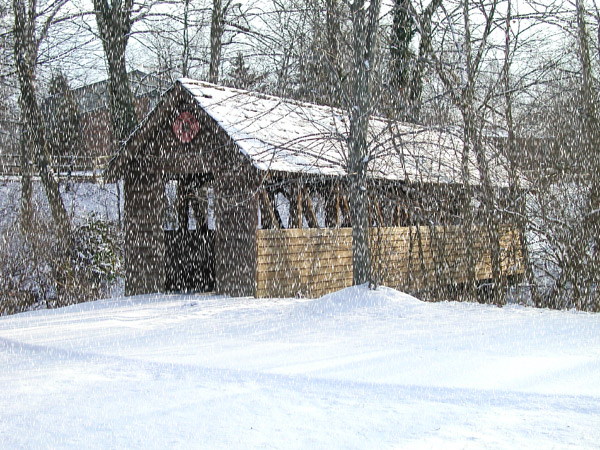
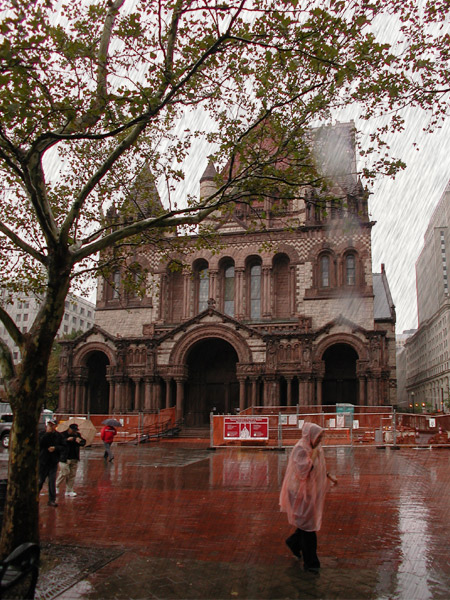
Let It Snow, Let It Snow, Let It Rain! Rain?
Final Project
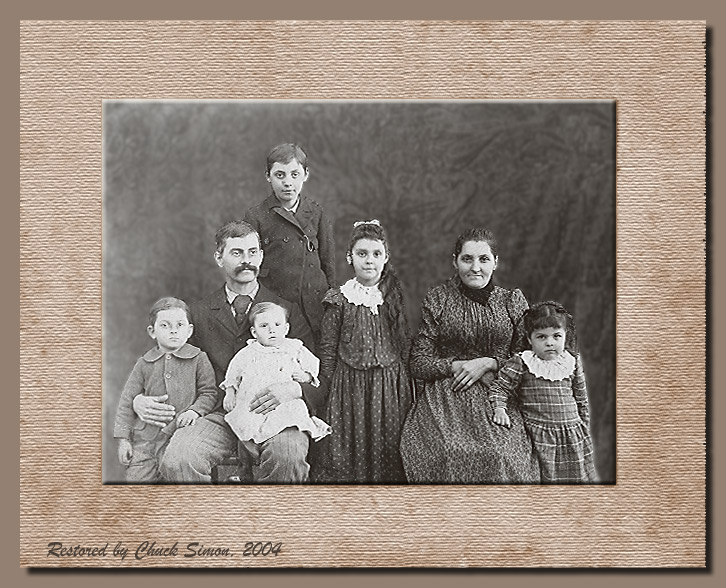
I used only the original photograph except for the solid color for the drop shadow frame. I found a similar photo in my own collection which was a photograph of a photograph. I said to myself, “no way, too much work with a group of people and numerous defects.” Little did I know what was coming.
What I Did
Rotated to the left 0.75°
Selected several good portions of the frame and copied into layers for relocation to areas needing repairs. Some required flipping either horizontally or vertically.
Copied the lower left corner triangle and pasted into another layer. Set the blend mode to “Mulitiply” and adjusted Opacity to closely match adjacent portion of the photograph.
Selected only the photograph, and enter the “Hue⁄Saturation” for adjustments. Selected yellow and moved saturation slider to -100. Selected red and moved slider to about -77. In this case, I did not want a true black and white.
Selected portions of back drop and copied into the top left corner.
Performed a lot of various clone, brush, dodge and burning actions.
Selected the subjects and applied “Unsharp Mask” settings at 40, 1.4 and 4.
Selected the background including the frame and applied a “Gaussian blur” of 1.5.
Selected the left hand third into another layer and set blending to “Muliply” and adjusted opacity.
Selected just photograph area and added “Low Drop Shadow”.
Increase canvas size by applying layer effect for “Drop Shadow Frame”
This is a simplified attempt at keeping notes. To my surprise, this took several hours and I didn't write everything down.
These lessons have been well worth the time and effort spent. I have neglected so many photos over the past several months that I now must get to work. At least I go forth knowing that I can do things faster and better. Everyone has been just great and I feel that I have gotten to know many very well. Next up is More Pizzazz.
