
Lesson Six, Digital Adjustments
In this lesson I have tried to take some rather mundane photos and enhance them toward the dramatic side. This first one is the original of a couple of rail cars set off to the side and not used anymore. While there was what could have been an interesting sky, I missed capturing it. Also the reds of the rail cars are somewhat over exposed.

Here is the enhanced photo of the above.

Just to play around to see that develops, hmmm — darkroom term?
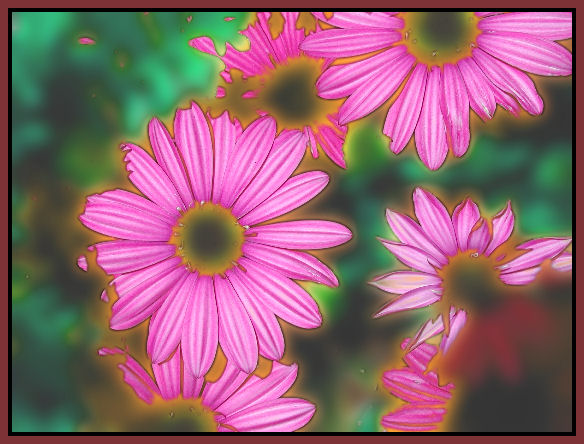
This involved the use of selecting out the flower petals or at least most of them and elevating to an upper layer. Then on the bottom, I did a Blur of 30, changed the Hue and Saturation to 68 and 55, respectively, and Lightness to 20.
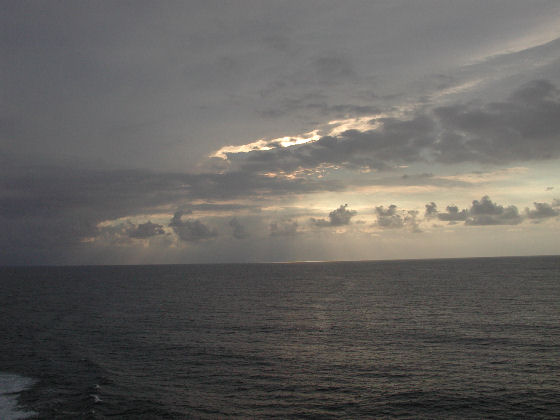
Continuing with this idea on some other photographs. The original of what could have been a striking sunset but wasn't.
I played around with the Smart Photo Fix but it didn't come up to my expectations. So I added a layer and filled it with red and set the layer to a blend mode of Multiply to see what happens. The Opacity had to be slid down to 28%.
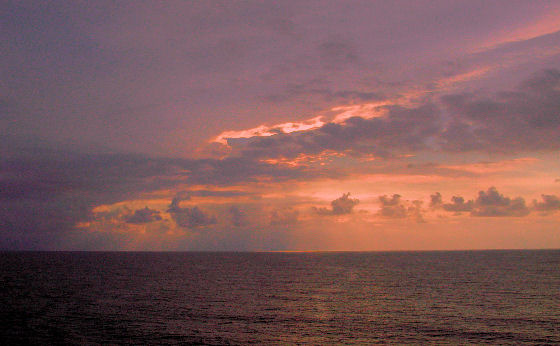
Now this is coming around. Okay, good but could be better. I changed the blend mode to Burn and the Opacity to 38%.

Here is a screen capture of what I was doing.
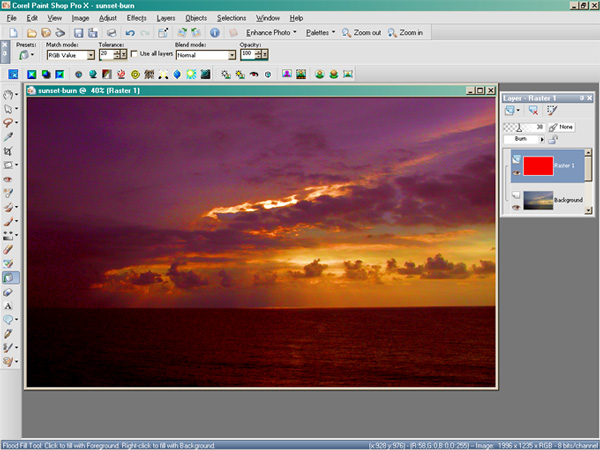
Looking closely, one will see that digital noise is beginning to creep into the image. I tried PSP's noise removal and frankly, I thought that it made it worse. Maybe I just didn't know how to apply it. So I went to my noise removal program, Neat Image to perform this trick.

It has been informative six weeks but there is much more to learn. I tried to get the perspective correction to work on a photo that I wanted to use and could not figure out how it works. I am sure that there are other features of the program that I don't understand.