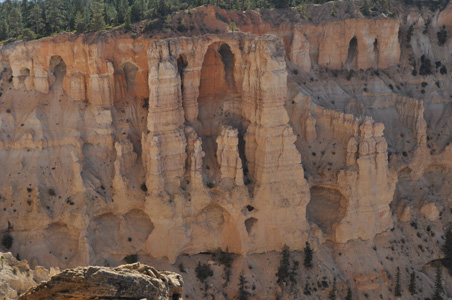
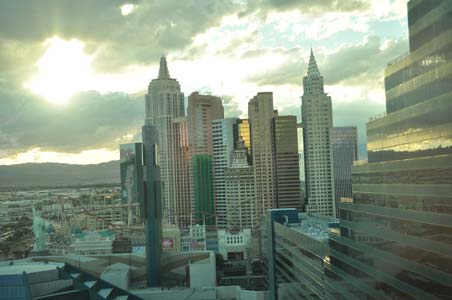
As explained to me, this method works best on a drab photograph. No disagreement with that statement.
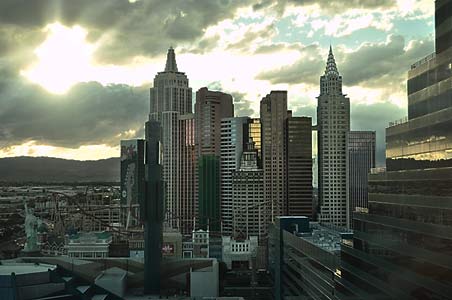
The photograph below of the New York New York Hotel and Casino in Las Vegas was edited in the LAB mode but the use of Curves was totally different.
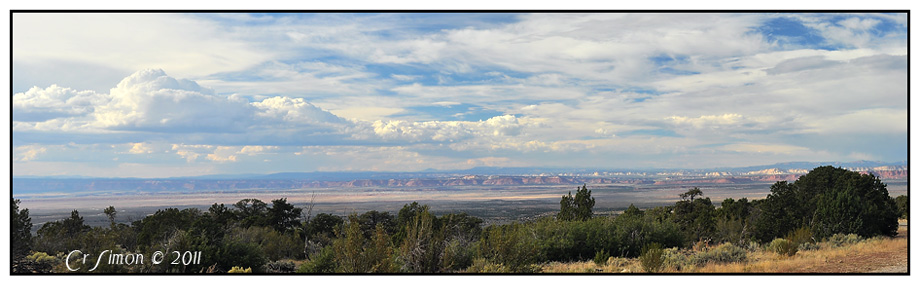
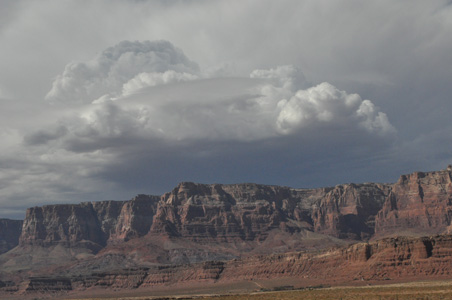
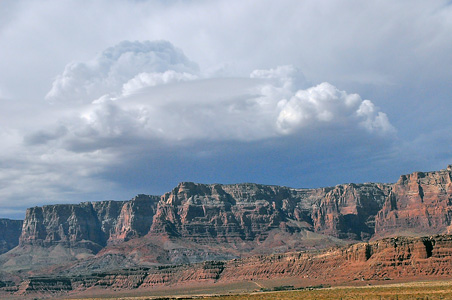
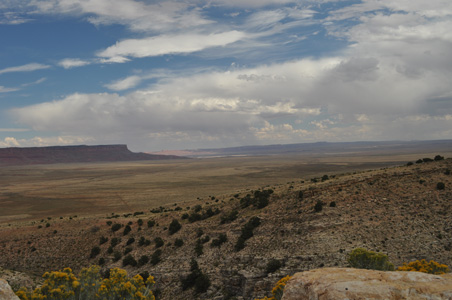
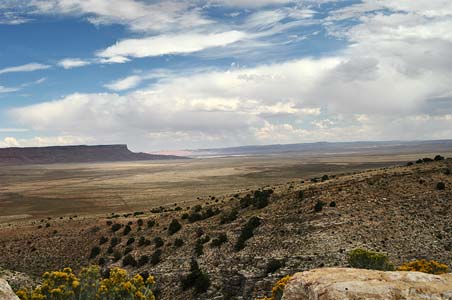
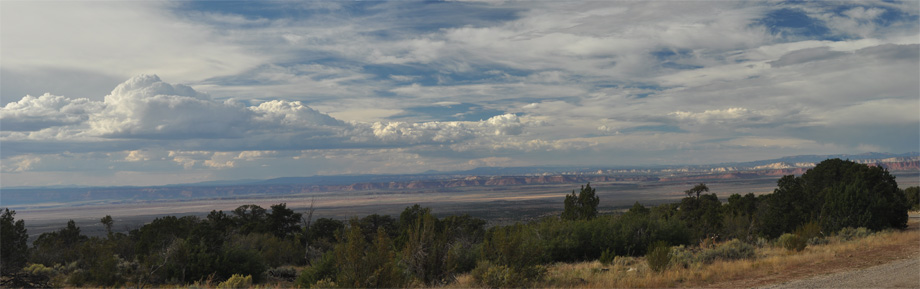
And the panorama at the top of the page — what did it look like originally? Scroll down.
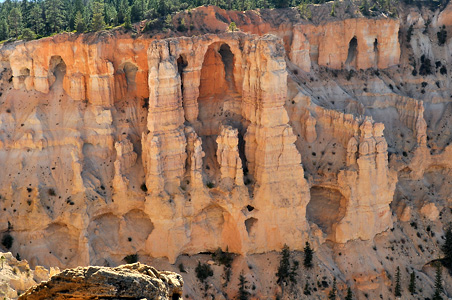
This method of editing photographs with Photoshop came to me from a friend who has been reading and studying the book, “PHOTOSHOP LAB Color” by Dan Margulis. It involves changing the image mode to LAB and then editing with Curves. Lastly, the Lightness channel is sharpened with the Unsharp Mask. In addition to following the recommended steps, I did some additional Levels adjustments.
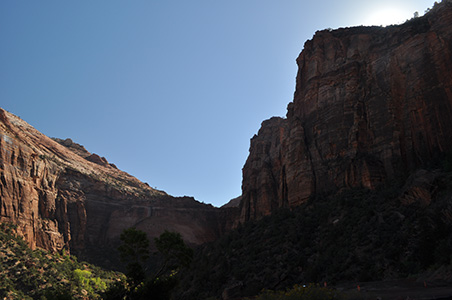
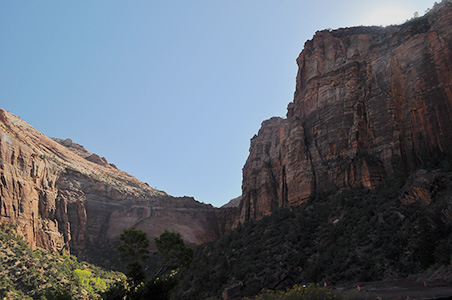
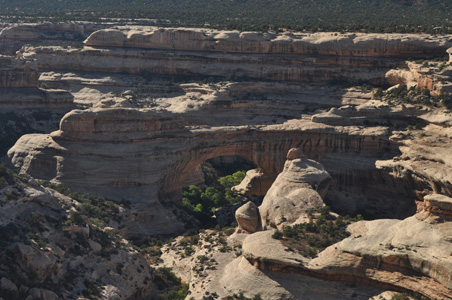
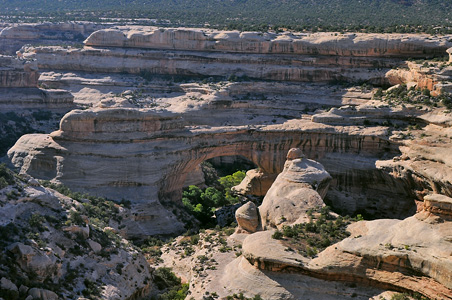
In each of the following, the original, left photograph, is as it was captured by the camera. No editing has been applied with the exception of resizing. The right hand photograph is the after edit.