
Filters
My Completed Balloon Flower

I used four layer in addition to the Background. The layers were originally for the painting strokes in Lesson 3. Each layer was treated differently.
Flower Layer — Crosshatch: 11,7,1; Dark Stroke: 6,7,4; Colored Pencil: 5,9,17; Blending: Multiply Opacity: 40%.
Greenery — Dry Brush: 4,9,1; Blending: Multiply Opacity: 40%.
Wall & Ground — Palette Knife: 30,3,2; Blending: Multiply Opacity: 37%
The fourth layer was the spent flower to the left of the two flowers. Nothing done here.
Background — Texturizer: Sandstone; 83,5; Lighting Top Left.
Filters

My Original
 Crystallized |
 Trace Contours |
Layer Blending Modes

The Originals
 Blending Hue |
 Blending Hard Light |
 Blending Difference |
 Blending Luminosity |
I found the Hue Blending interesting. I gives the appearance of the dragon projected on the blue panel in the background. The Luminosity is my favorite.
Cloning Tool

Repairs to Old Photograph

Used the Patch tool extensively. The Healing Brush did not seem to want to work at all. It made no changes to the brown stain on the white dress. The Patch tool seems counter intuitive but I got the hang of it.
Replacement Color Brush
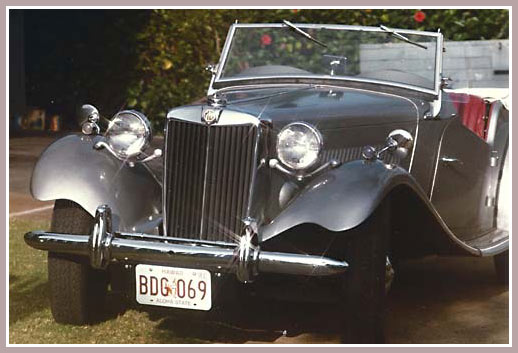
Mouseover for Paint Job. Red Would be a Little More Sporty
Warping Nature
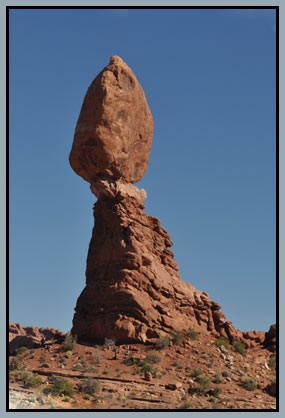
Mouseover for warped Balanced Rock. They say this is going to happen sometime!